

At-Home Guide to Making DIY Paper Rockets with your Kids 🚀
Looking for an exciting way to get your kids off their screens and into some hands-on fun? Why not launch into adventure with homemade paper rockets! Using just a few simple supplies, and a little air power, you can engineer rockets that actually fly. Whether you’re planning a birthday activity, or just looking for something awesome to do on a sunny day, this DIY project is sure to fuel curiosity and fun.
Below, we’ll walk you step-by-step through how to build your own paper rockets at home, decorate them with your own flair, and safely launch them using an air compressor or pre-made stomp launcher. So gather your supplies, round up your crew, and get ready for takeoff. ✨
🧰 Supplies Checklist
Before you build, make sure you’ve got everything you need. Here’s what you’ll need for both building and launching your DIY paper rockets.
- Card Stock Paper (2 sheets)
- Scissors
- Duct Tape (Assorted Colors & Patterns)
- 1/2" PVS Pipe (in 1 ft. increments)
- Markers for Decorating
- Pre-made Launcher (Link Below)
- Cones (to Mark Distances during Launch)

🛠 How to Build Your Rocket (Step-by-Step)
Get Creative
Start by sparking some imagination. Ask your kids these questions:
What do rockets look like?
What helps them fly far and high?
What do you think will make your rocket the best?
Teach Rocket Anatomy
Every rocket has three basic components:
🚀 The Body
👃 The Nose Cone
🐠 The Fins
Building the Body of your Rocket
1 – Wrap Card Stock Paper around a PVC pipe to form a tube.
2 – Tape it closed tightly—but don’t tape it to the PVC!
3 – Place a piece of duct tape over the top to seal the end (important for launch pressure).
Make the Nose Cone
1 – Cut a circle (you can trace duct tape for size).
2 – Cut one slice like a pizza slice.
3 – Twist paper into a cone and tape it closed.
4 – Tape it securely to the top of your rocket body.
Design and Add Fins
1 – Cut out 3-4 small triangles (or try other fun shapes.)
2 – Tape 3–4 fins near the base of your rocket body.
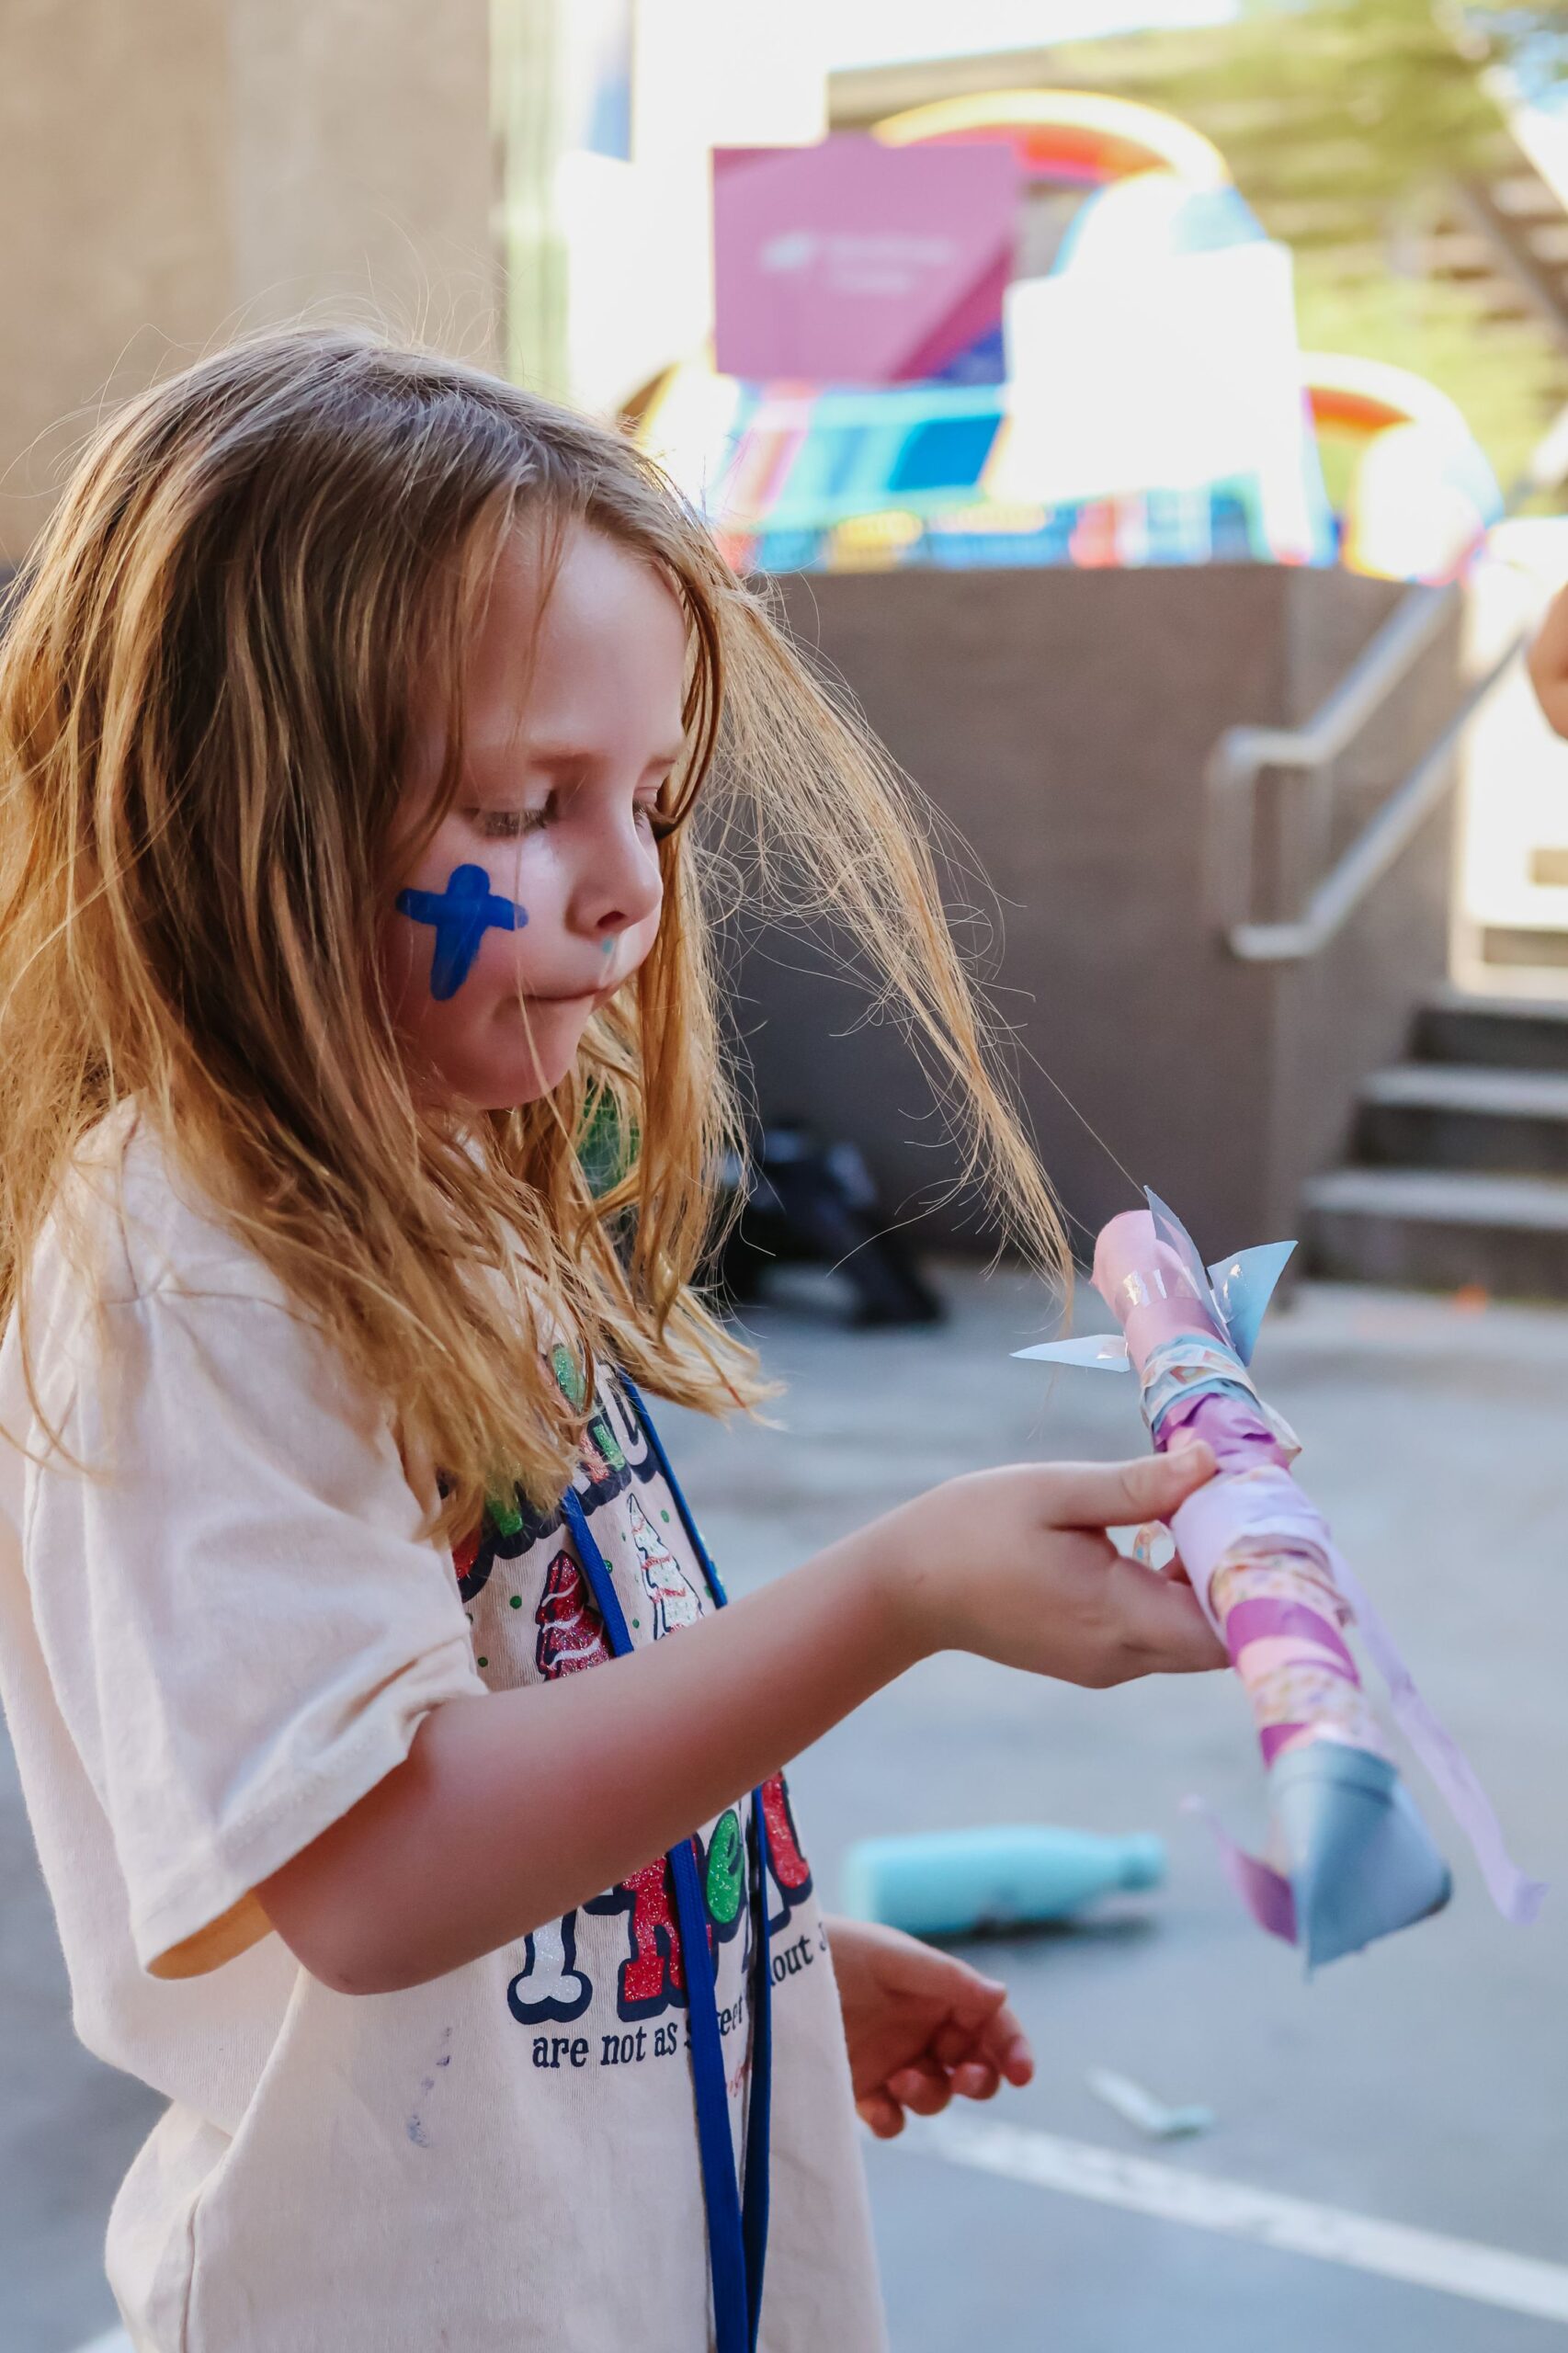
Decorate!
Use markers and colorful duct tape to make your rocket uniquely yours and one-of-a-kind.
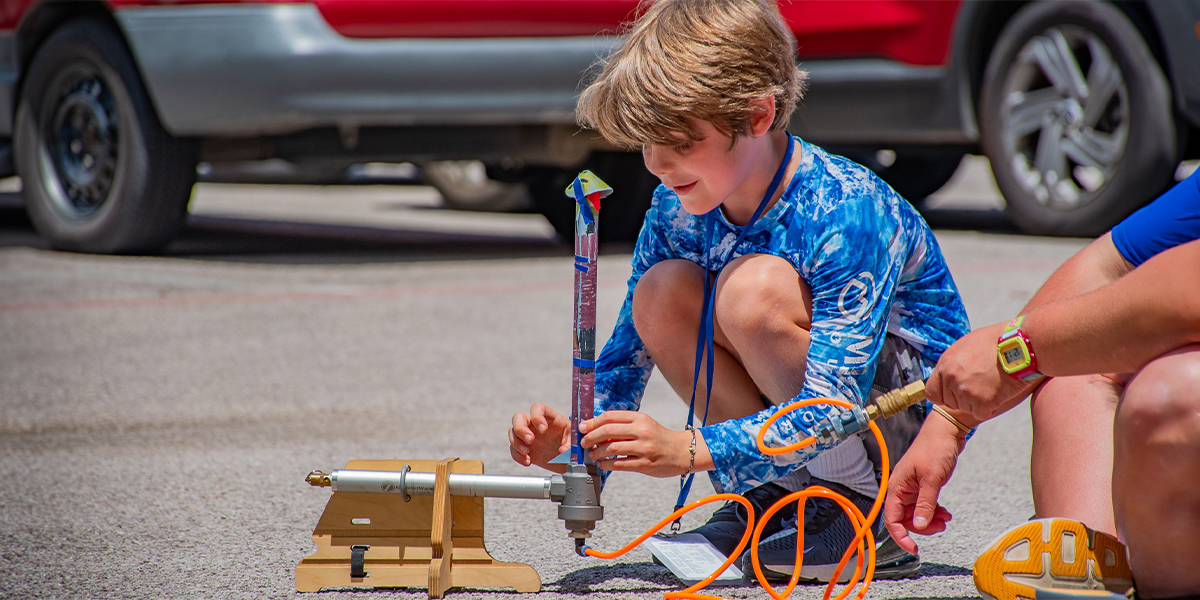
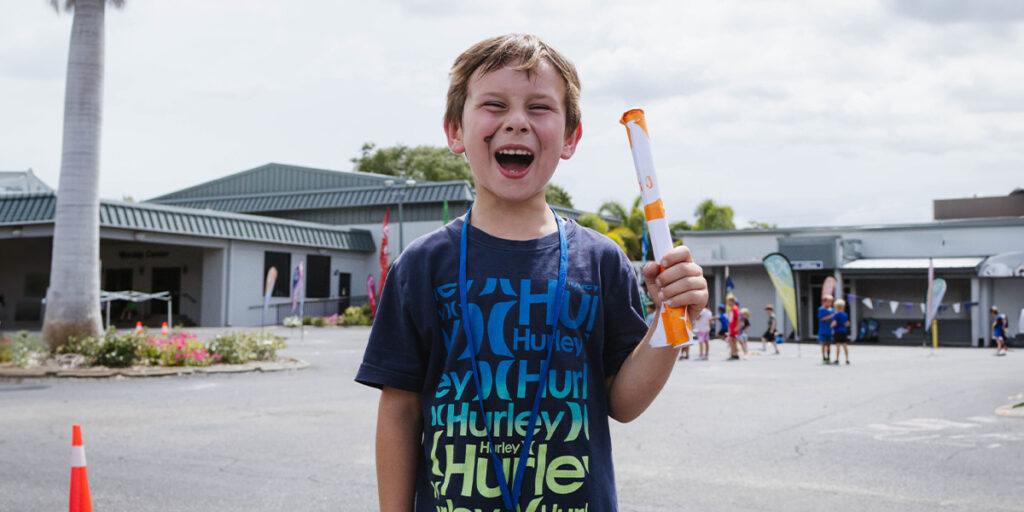
Time to Launch! 🚀
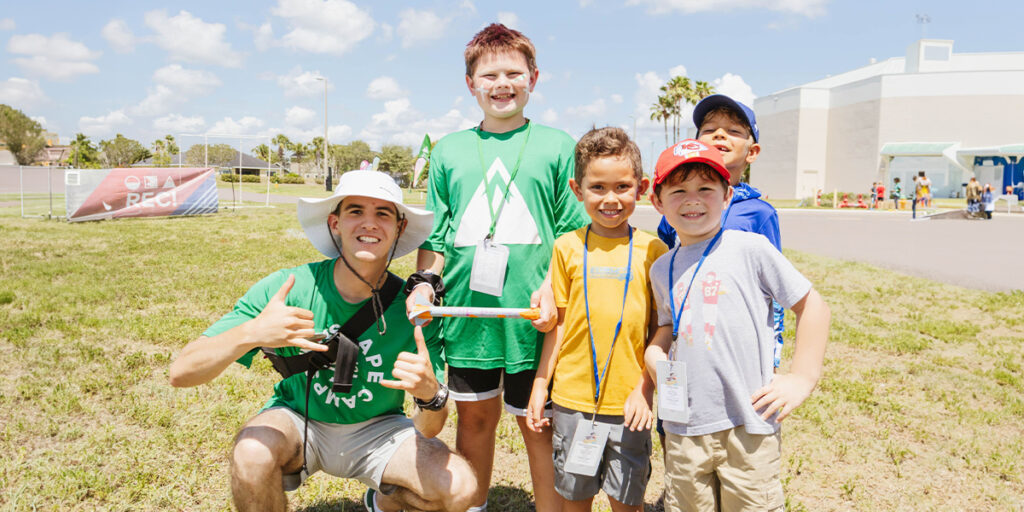
- Choose a wide-open area (away from buildings/trees/obstacles).
- Grab your pre-made launcher.
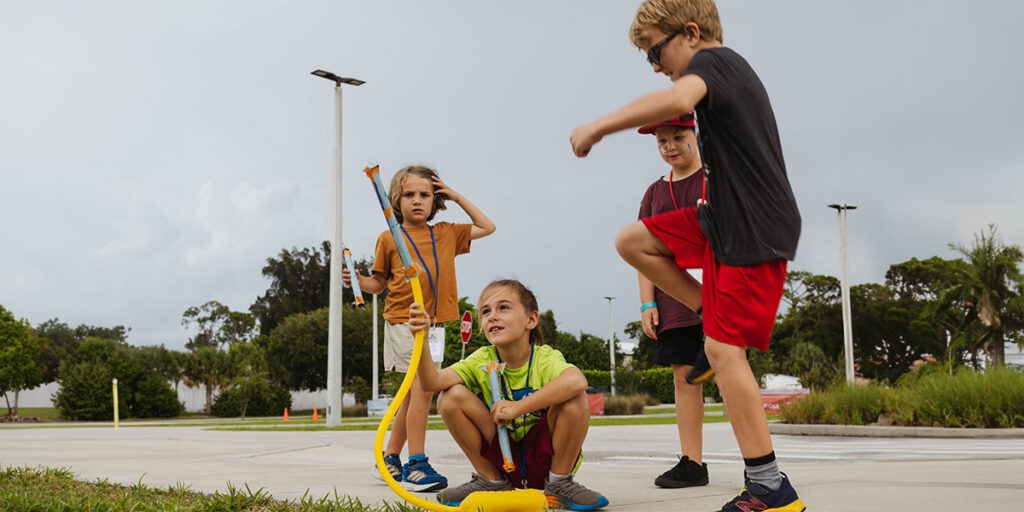
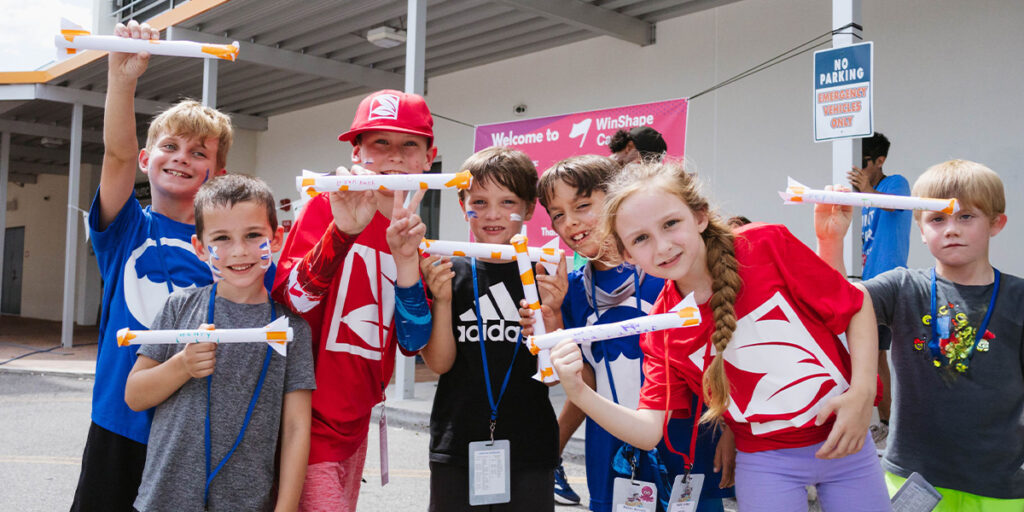
- One by one, load your rockets onto the launcher and fire them off. Kids will love cheering each other on.
Try Different Launch Game Modes
- Highest Launch
- Furthest Flight
- Top Golf Style – Similar to Top Golf, assign point values to marked landing zones and challenge kids to aim for the highest score.
💡 Tips & Tricks for Success
Tear your duct tape—don’t cut it with scissors.
Test the rocket body on the PVC pipe before taping.
Always seal the top of the rocket body with duct tape before adding the nose cone.
The tighter and smoother your rockets body is, the further and straighter it will fly!
Ready for lift-off? We hope this DIY adventure sparks creativity, curiosity, and a whole lot of fun for your family. For more hands-on activities and ways to make the most of your time together, be sure to check out our other free resources for families! 🚀✨
WinShape Camps offers overnight camp, family camp, and day camp experiences.
Sign up to learn more!